There are 0 items in your cart
Store Details
inspiration
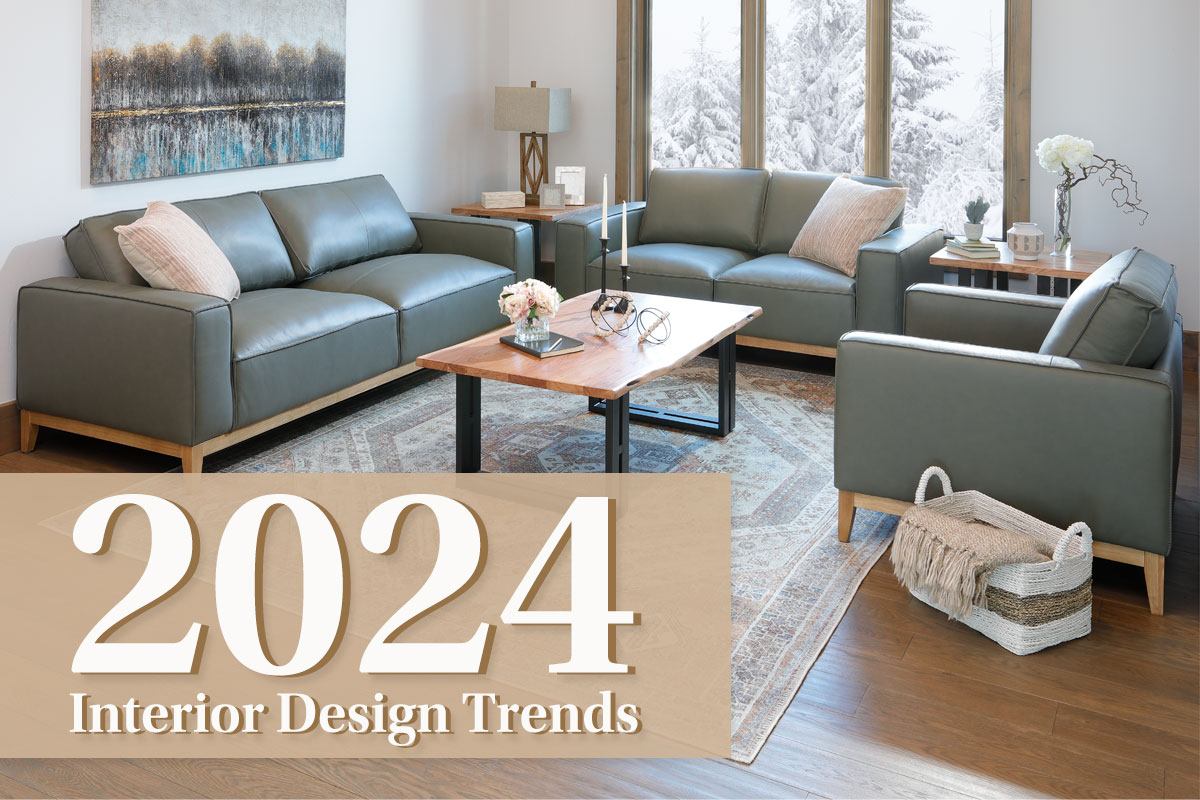
Furniture Row's 2024 Interior Design Trends!
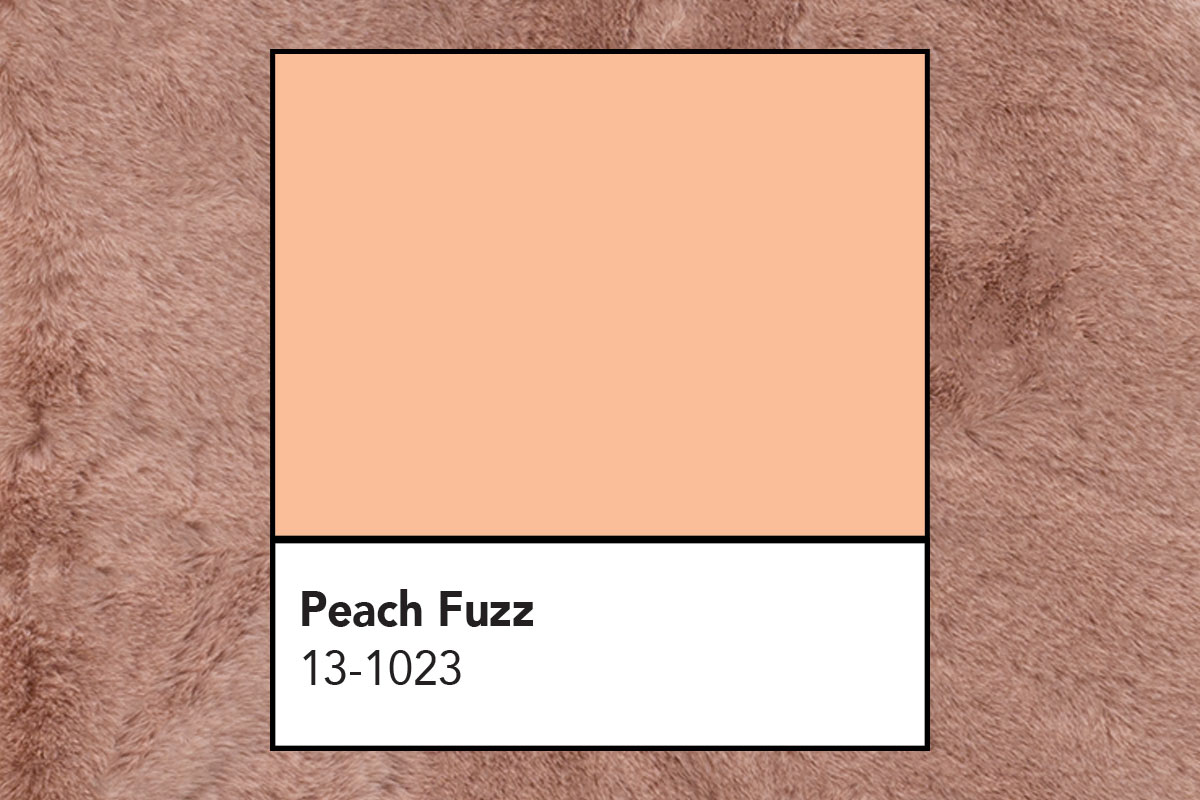
How to Style with Pantone's 2024 Color of the Year
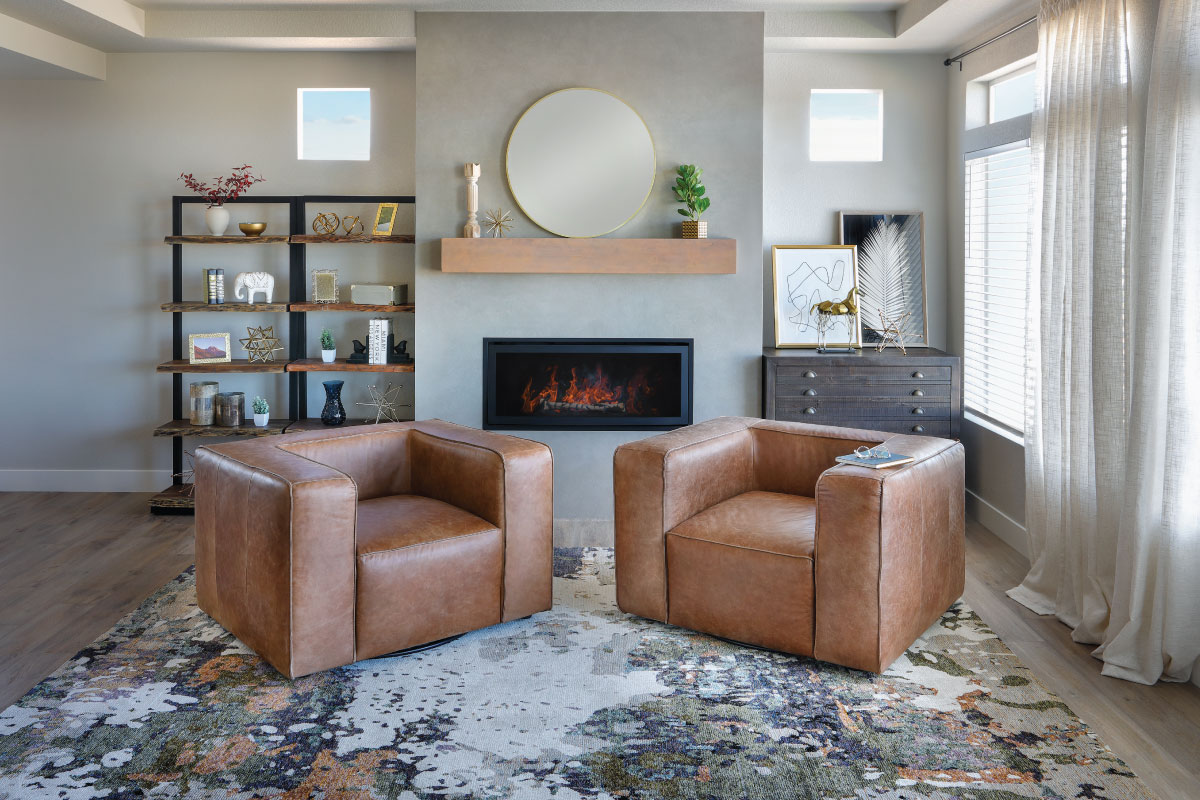
Get a Chic Living Space with the Gordo Chair!
how to
Bar Stools: A Guide to Finding the Right Size for Your Space
Get Ready for the Biggest Black Friday Blowout at Furniture Row!
Musana’s Taste to Transform Event in Denver was Their Biggest Yet!
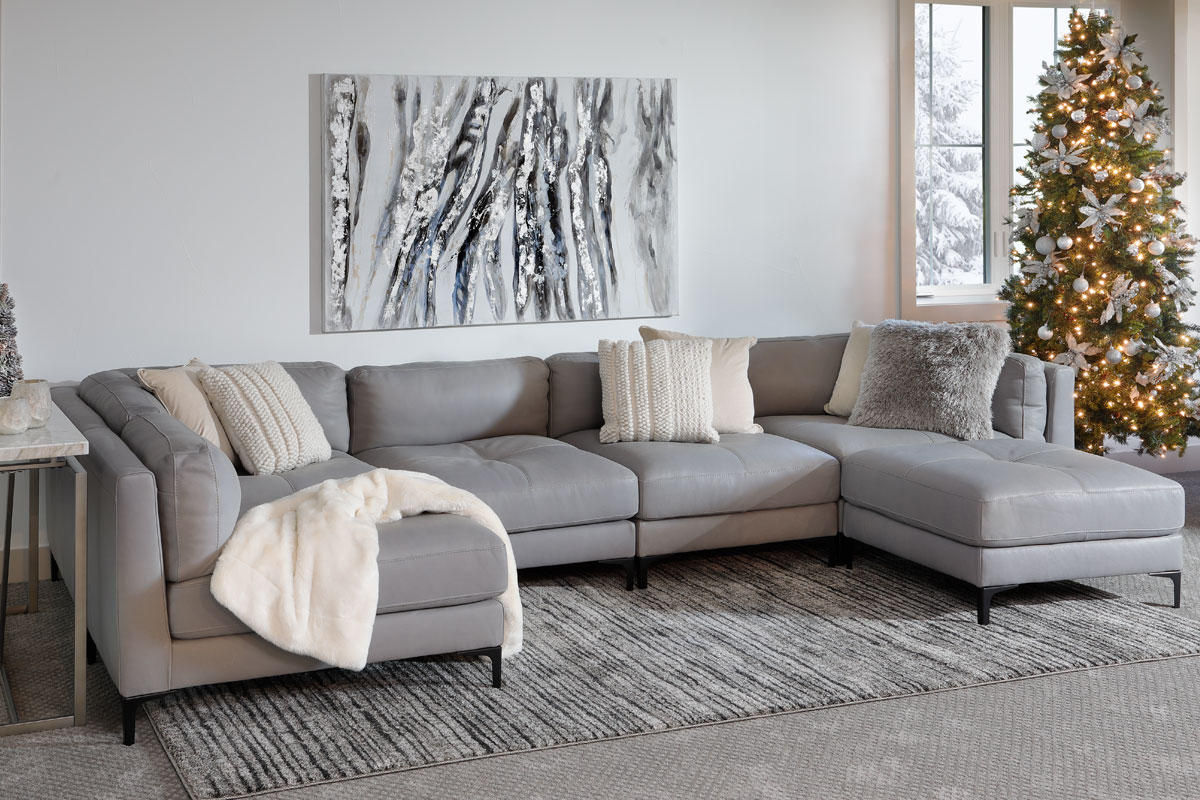
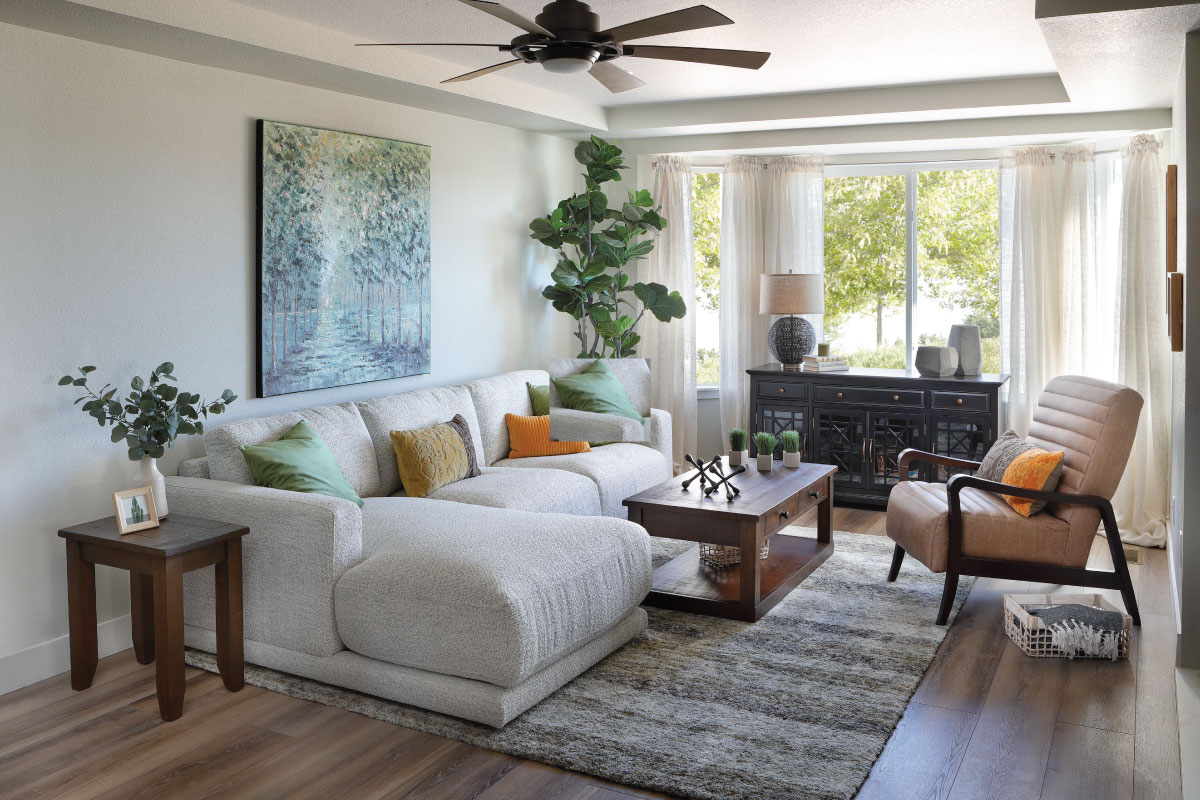
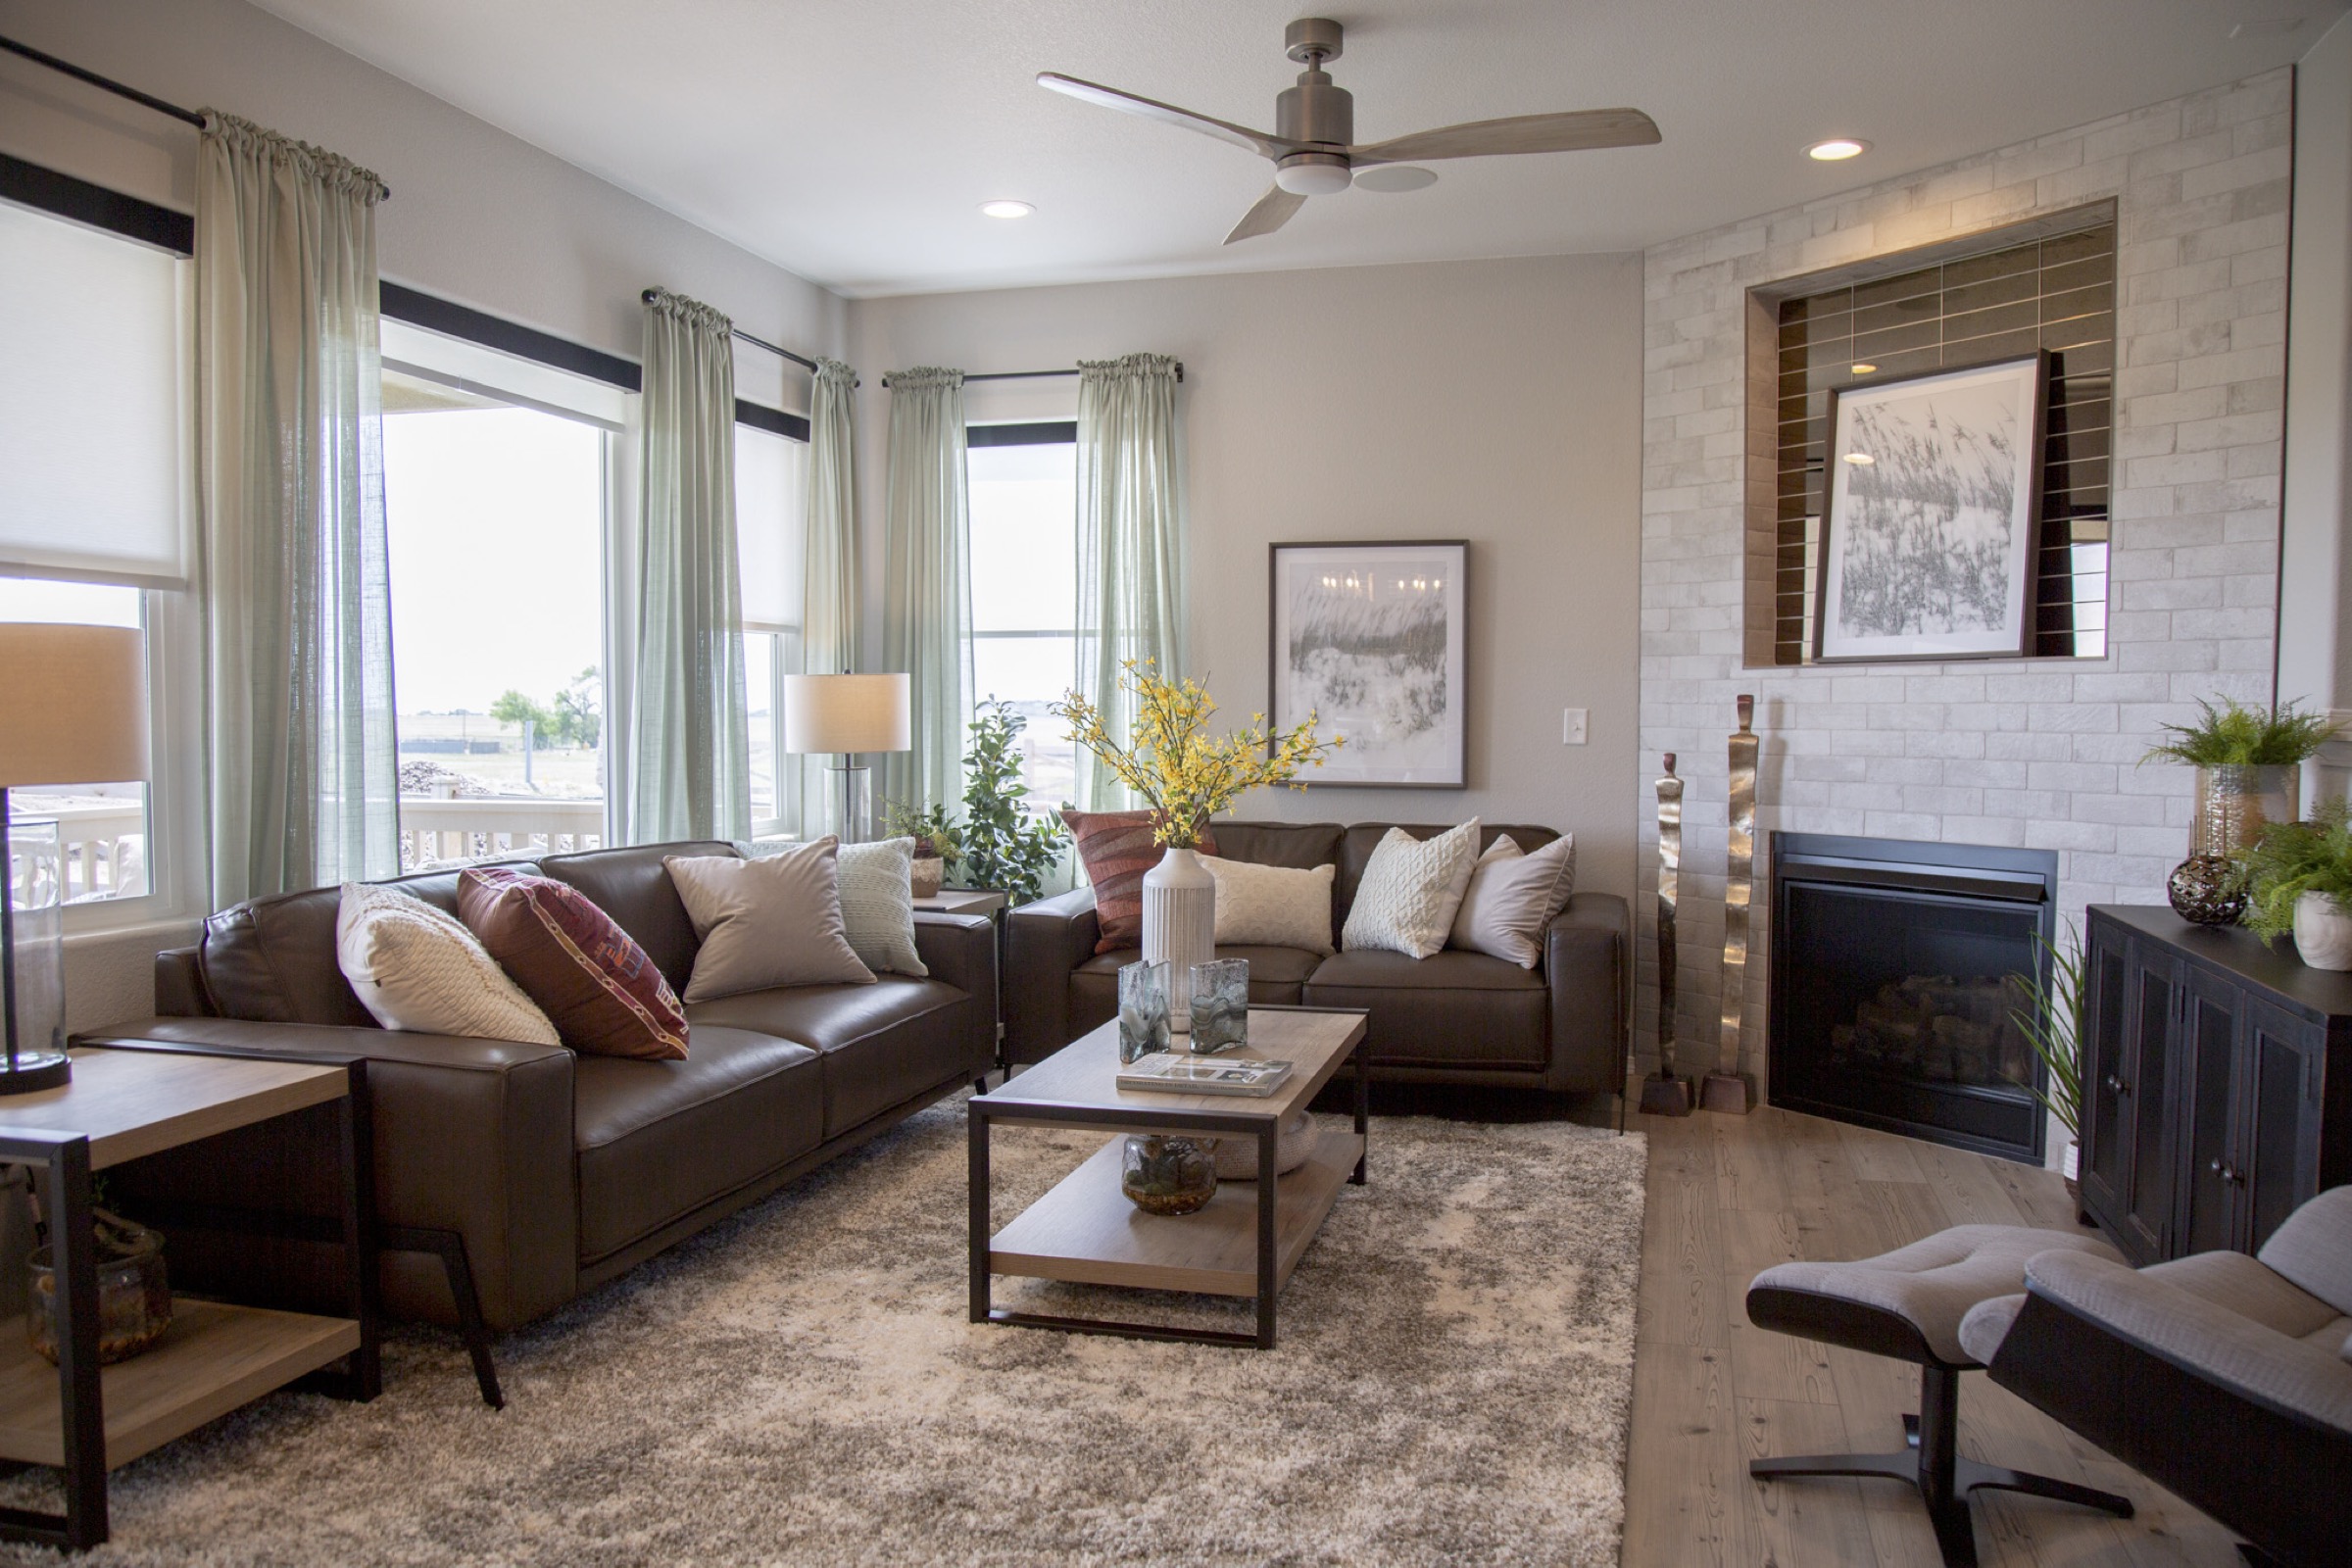
Creating a Stylish and Functional Living Room: A Guide to Sectionals, Sofas, TV Stands, and More!
How To & DIY
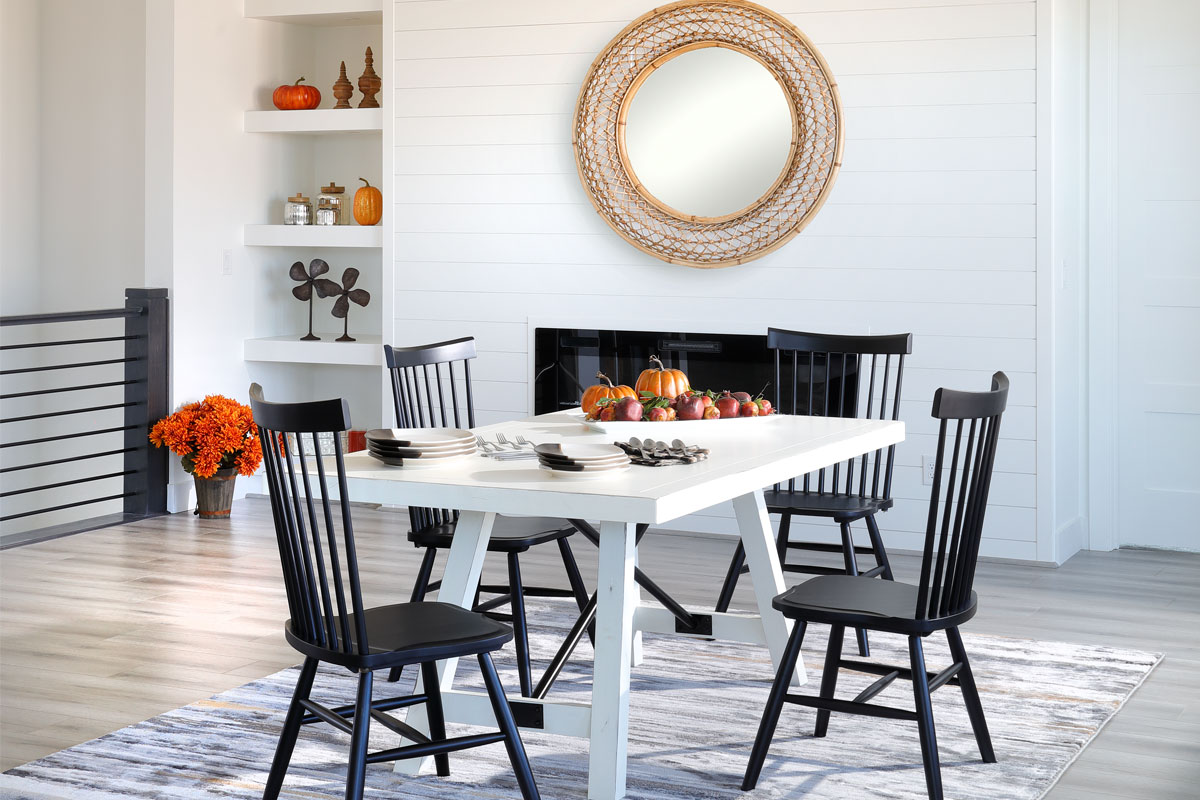
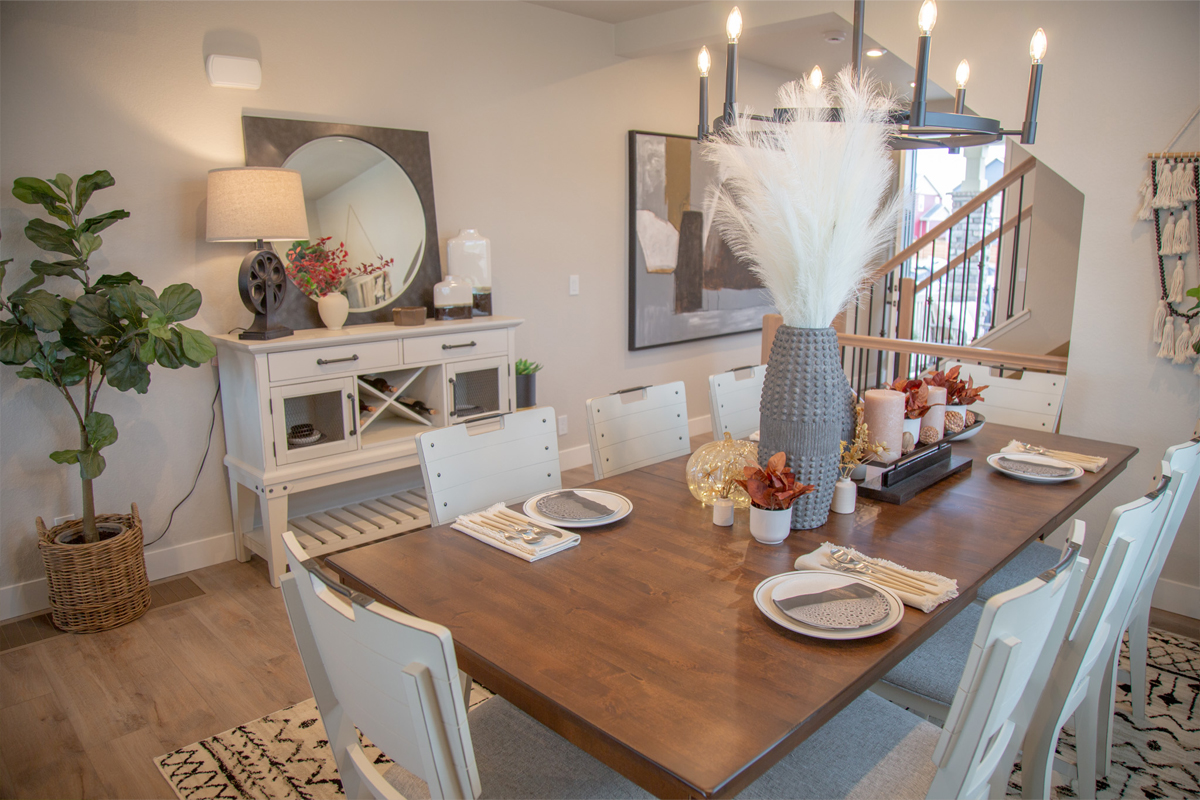
How to Decorate Your Dining Room for Fall
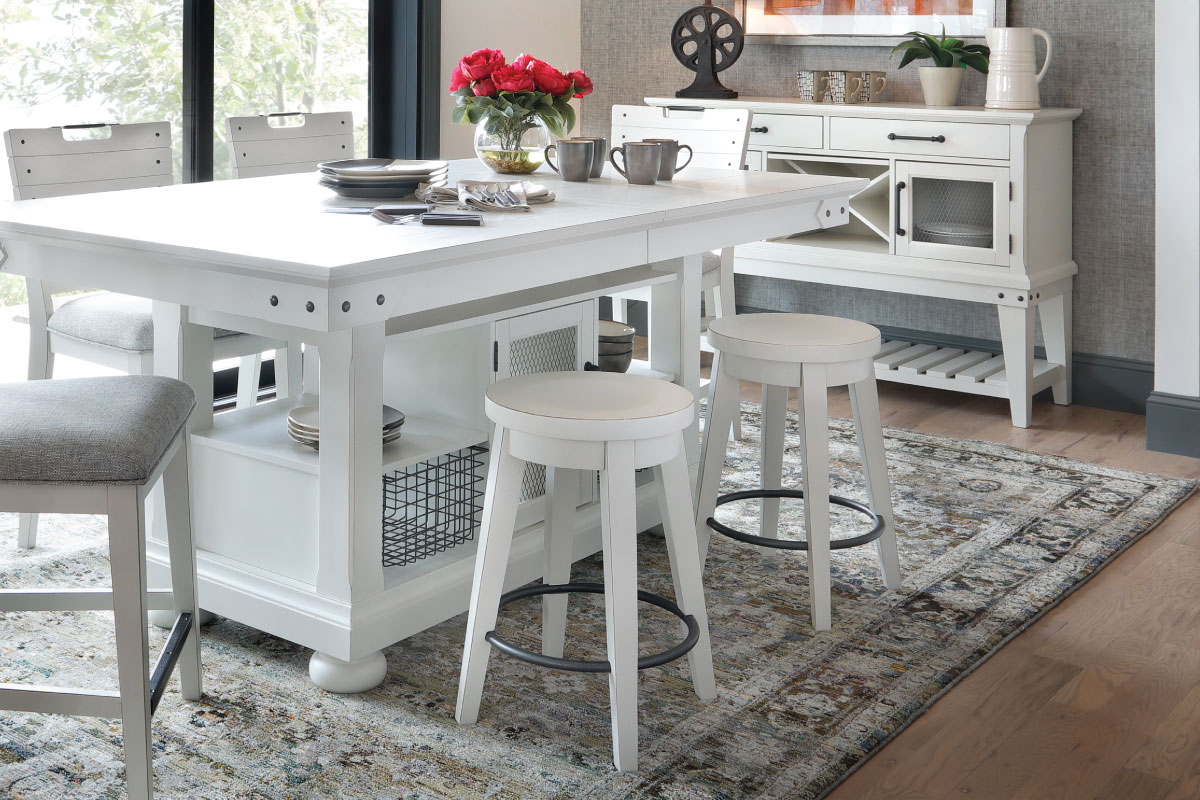
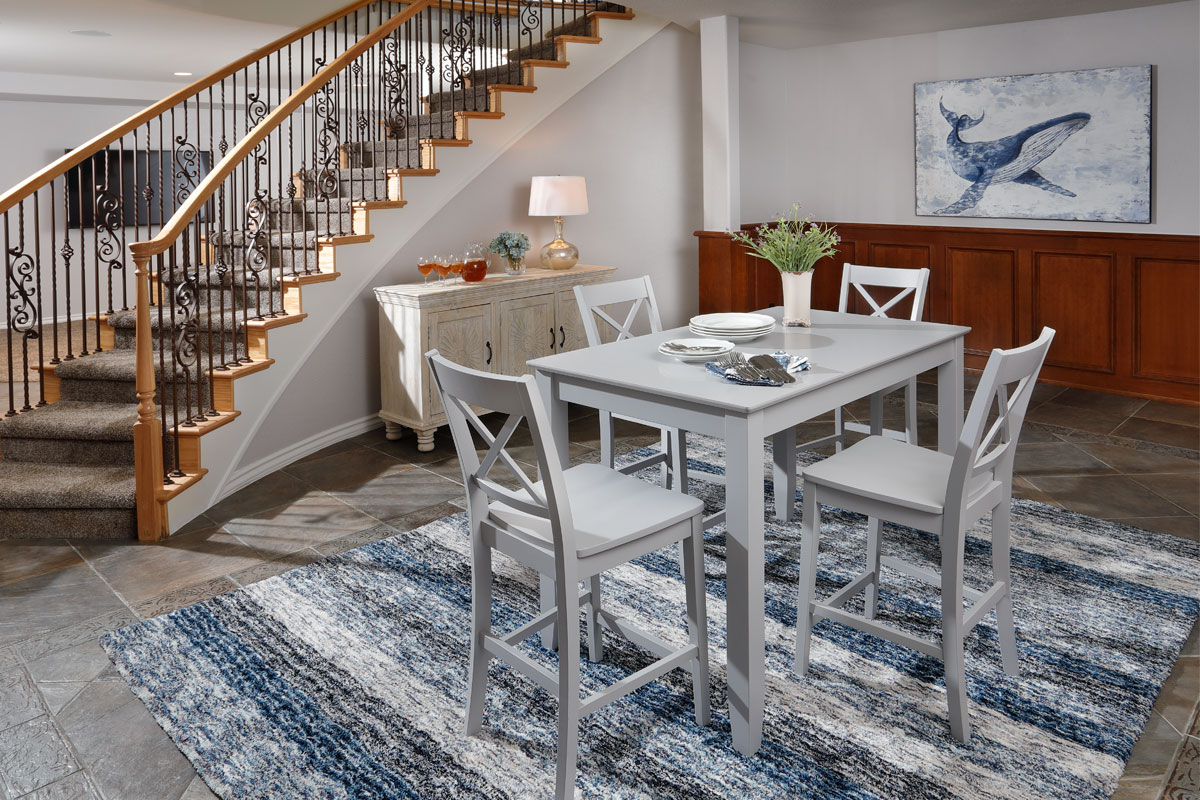
Elevate Your Dining Experience: The Benefits of Counter Height Dining Tables
Interior Design Insights: The 2023 Denver St. Jude Dream Home
Creating Your Perfect Retreat: A Guide to Bedroom Furniture and Sets
Styling the 2023 Colorado Springs St. Jude Dream Home